为 Seafile 部署 Office Online Server
Seafile 从4.x开始支持 Windows Office Online Server(以前版本叫 Office Web Apps),而官方的所有文档都没有很清晰的表明社区版支持,而我一直以为只有企业版才支持,故此一直折腾 onlyoffice 和 Libreoffice,后论坛看到有人用社区版结合 Office Online Server 才恍然大悟,确定社区版是支持 Office Online Server 的(其实支持 WOPI 就行了),然后开始了折腾之路。
之前我一直在折腾 Office Web Apps 可是部署成功后无法结合 Seafile 使用,不知道为何,一直报告 CA 证书错误,后联系 Seafile 员工,建议我更换 Office Online Server,部署完毕后完美运行。
本文环境:2台 使用 ESXI 虚拟的虚拟机,配置 4个处理器,4G内存,40G硬盘。
准备工作
Office Online Server 需要具备以下条件
- Office Online Server 的 Windows Server 必须加入域
- Office Online Server 不可以部署在域控制器(AC)的Windows Server 中
- Windows Server 2012 R2 镜像
- Office Online Server 镜像
故此,部署 Office Online Server 必须有两台 Windows Server,一台作域控制器,一台部署 Office Online Server。
部署域控制器
域控制器信息:
- IP地址: 192.168.2.41
- 计算机名称: AD
- 加入域后全称: AD@domain.com
这个其实搜索引擎一轮就有非常多的方法,我懒得截图,这里就写上通过 Powershell 来部署域控制器。
更改计算机名
以管理员运行 Powershell 执行以下命令
Rename-Computer -NewName "AD" -Restart
如果不先更改计算机名的话,升级为域控制器后就没法再修改了。
安装域控制器
注意运行前先将 Windows Server 2012 更新到最新(但安装 Office Online Server 的服务器则不能升级到最新)
以管理员方式运行 AD.ps1 42
AD.ps1 42 内容如下
import-module servermanager
Install-WindowsFeature ad-domain-services,RSAT-ADDS
Import-Module ADDSDeployment
Install-ADDSForest `
-CreateDnsDelegation:$false `
-DatabasePath "C:WindowsNTDS" `
-DomainMode "Win2012" `
-DomainName "domain.com" `  #这里写域的全称
-DomainNetbiosName "AD" `  #这里写域控制器的计算机名
-ForestMode "Win2012" `
-InstallDns:$true `
-LogPath "C:WindowsNTDS" `
-NoRebootOnCompletion:$false `
-SysvolPath "C:WindowsSYSVOL" `
-Force:$true
- -DomainName “domain.com 6” 如果您的 Seafile 服务有域名,建议使用您的 Seafile 域名作为域控的 DomainName。
等重启后,域控制器就部署好了。
新建域管理员
部署好后我们建立一个域用户,并将其加入域管理员组(Domain Admins)
将下面语句逐行复制到 Powershell 执行即可(这里 nero 是我的用户名,domain 和 com 是域名,请按照实际情况替换。)
New-ADUser -SamAccountName "nero" -Name "nero" -UserPrincipalName "nero@domain.com" -DisplayName "nero" -Path "CN=Users,DC=domain,DC=com" -AccountPassword (ConvertTo-SecureString (Read-Host -AsSecureString "Enter your AccountPassword") -AsPlainText -Force) -Enabled $True
Add-ADGroupMember -Identity "Domain Admins" -Members "nero"
参考自:
命令解析
- SamAccountName: 指定用户,组,计算机或服务帐户的安全帐户管理器(SAM)帐户名称。
- UserPrincipalName: 每个用户帐户的用户主体名称(UPN)格式为 @ 。
- DisplayName: 指定对象的显示名称。 此参数设置对象的DisplayName属性。
- Path: 指定创建新对象的组织单位(OU)或容器的X.500路径。
- AccountPassword: 指定帐户的新密码值。 此值作为加密字符串存储。
- ConvertTo-SecureString: 将加密的标准字符串转换为安全字符串。 它也可以将纯文本转换为安全字符串。
- Read-Host: 从控制台读取一行输入。
- Add-ADGroupMembe: 将一个或多个成员添加到Active Directory组。
- Identity: 通过提供以下值之一来指定Active Directory组对象。
- Members: 指定一组以逗号分隔的列表中的用户,组和计算机对象,以添加到组中。要识别每个对象,请使用以下属性值之一。
由于 AccountPassword 必须使用加密字符串存储,故此我们需要将输入的密码转换成密文。
安装 Office Online Server
Office Online Server 信息:
- IP地址: 192.168.2.42
- DNS: 192.168.2.41 注意,这里的DNS必须为域控制器,否则无法加入域
- 计算机名称: Office
- 加入域后全称: Office@domain.com
安装好系统后,千万别更新,千万别更新,千万别更新。
安装好系统后,千万别更新,千万别更新,千万别更新。
安装好系统后,千万别更新,千万别更新,千万别更新。
修改安全标识符SID(非必须)
由于我的 Office Online Server 的操作系统是通过 AD 的那台服务器(未打补丁时的快照)克隆过来的,所以需要修改安全标识SID才能顺利加入域。如果你是全新安装可以略过直接看下章。
管理员身份运行 PowerShell 输入以下命令
cd C:WindowsSystem32Sysprep
.sysprep.exe /oobe /generalize
重启后需要重新设置区域、键盘等设置,并且登陆系统后还需要重新输入注册信息(破解的话需要重新运行破解程序再破解一次)
更改计算机名
以管理员运行 Powershell 执行以下命令
Rename-Computer -NewName "office" -Restart
加入域
加入域之前请确认 DNS 是否已设为域控制器 IP 地址。
以管理员运行 Powershell 执行以下命令
Add-Computer -Domain "domain.com" -Cred "domain.com
ero" -Passthru; Restart-Computer
- Domain: 域全称
- Cred: 填写我们之前创建的域管理员
重启后点击返回按钮,点击其他用户,使用域管理员登陆计算机。我这里域管理员是 nero@domain.com
为 Office Online Server 安装必备软件
安装好系统后,千万别更新,千万别更新,千万别更新。
安装好系统后,千万别更新,千万别更新,千万别更新。
安装好系统后,千万别更新,千万别更新,千万别更新。
因为微软的某个补丁造成了如果不先开启 .NET3.5 的话,更新后是没办法再安装 .NET3.5 的,我之前部署的时候就因为这个装了2天。
以管理员方式运行 Powers 输入一下命令
Add-WindowsFeature Web-Server,Web-Mgmt-Tools,Web-Mgmt-Console,Web-WebServer,Web-Common-Http,Web-Default-Doc,Web-Static-Content,Web-Performance,Web-Stat-Compression,Web-Dyn-Compression,Web-Security,Web-Filtering,Web-Windows-Auth,Web-App-Dev,Web-Net-Ext45,Web-Asp-Net45,Web-ISAPI-Ext,Web-ISAPI-Filter,Web-Includes,InkandHandwritingServices,NET-Framework-Features,NET-Framework-Core,NET-HTTP-Activation,NET-Non-HTTP-Activ,NET-WCF-HTTP-Activation45,Windows-Identity-Foundation,Server-Media-Foundation
如果不慎更新了服务器,那么请重新安装操作系统或者恢复到没有更新的快照执行这一段命令,否则会NET-Framework-Features,NET-Framework-Core,NET-HTTP-Activation 这三个是没办法安装,微软自己都没辙。(由此可见微软的内部争议挺大的,又要依赖旧技术,而补丁不得不干掉旧技术。)
安装以下软件:
- .NET Framework 4.5.2 40
- Visual C++ Redistributable Packages for Visual Studio 2013 27
- Visual C++ Redistributable for Visual Studio 2015 28
- Microsoft.IdentityModel.Extention.dll 40
安装 Office Online Server
- 从MSDN 我告诉你 90 服务器类别中下载 Office Online Server。cn_office_online_server_last_updated_march_2017_x64_dvd_10245068.iso
- 运行 Setup.exe。
- 在“阅读 Microsoft 软件许可条款” 页上,选择“我接受此协议的条款” ,然后选择“继续” 。
- 在“选择文件位置” 页上,选择要将 Office Online Server 文件安装到的文件夹(例如,C:Program FilesMicrosoft Office Web Apps),然后选择“立即安装” 。如果您指定的文件夹不存在,安装程序将为您创建它。 我们建议在系统驱动器上安装 Office Online Server。
- 在安装程序安装完 Office Online Server 后,选择“关闭” 。
为 Office Online Server 安装语言包
Office Online Server 语言包使用户可以查看基于 web 的 Office 多语言文件,无论它们是从 SharePoint 文档库打开,还是从 Outlook Web App 打开。
若要安装语言包,请按以下步骤进行操作。
- 从 Office Online Server 语言包 104下载 Office Online Server中文语言包。
- 运行 wacserverlanguagepack.exe 。
- 在 Office Online Server 语言包向导中的“ 阅读 Microsoft 软件许可条款 ”页面上,选择“ 我接受此协议的条款 ”,然后选择“ 继续 ”。
- 在安装程序安装完 Office Online Server 后,选择“ 关闭 ”。
部署 Office Online Server
我的 Seafile 内部署了 Nginx 服务,并路由将 Seafile 的 Nginx 443端口映射至公网,故此客户端利用 https 通过公网访问到 Office Online Server 的话,就必须使用 Seafile 的 Nginx 服务来做反向代理。
部署 Office Online Server 墙
为了达到上述的效果,我们必须让 Office Online Server 使用 HTTP 来对外提供服务,而 HTTPS 则由 Nginx 来负责提供服务。
以管理员身份运行 Powershell 执行以下命令
New-OfficeWebAppsFarm -InternalUrl "https://office.domain.com" -ExternalUrl "https://office.domain.com" -SSLOffloaded -EditingEnabled
- New-OfficeWebAppsFarm: 在本地计算机上创建新 Office Online Server 场。我的理解是一个命令为 Office Online Server 配置好 IIS。
- InternalUrl: 指定客户端用于从 Internet 访问 Office Online Server 场的 URL。
- ExternalUrl: 指定客户端用于从 Internet 访问 Office Online Server 场的 URL。在负载平衡的多服务器 Office Online Server 场中,外部 URL 绑定到面向外部的负载平衡器的 IP 地址。
- SSLOffloaded: 向 Office Online Server 场中的服务器指出,SSL 将分流到负载平衡器。如果启用SSLOffloaded ,Web 应用程序将绑定到本地服务器上的端口 80 (HTTP)。但是,引用其他资源(如 CSS 或图像)的 HTML 将对这些引用使用 HTTPS URL。(大概意思就是可以使用外部 HTTPS 服务。)
- EditingEnabled: 允许在浏览器中进行编辑。默认值为 False 。只有在您具有使用编辑功能的相应许可的情况下,才能将其设置为 True 。
运行后会见到
将 EditingEnabled 设置为 TRUE。只有当此 Office Online Server 的用户具有允许使用 Office Online
进行编辑的许可证时,您才应该这样做。
是否继续执行此操作?
[Y] 是(Y)  [N] 否(N)  [S] 挂起(S)  [?] 帮助 (默认值为“Y”): Y
Y 回车执行下一步即可。
部署好后应该显示如下信息:
FarmOU                                      :
InternalURL                                 : https://office.domain.com/
ExternalURL                                 : https://office.domain.com/
AllowHTTP                                   : True
AllowOutboundHttp                           : False
SSLOffloaded                                : True
CertificateName                             :
S2SCertificateName                          :
EditingEnabled                              : True
LogLocation                                 : C:ProgramDataMicrosoftOfficeWebAppsDataLogsULS
LogRetentionInDays                          : 7
LogVerbosity                                :
Proxy                                       :
CacheLocation                               : C:ProgramDataMicrosoftOfficeWebAppsWorkingd
MaxMemoryCacheSizeInMB                      : 75
DocumentInfoCacheSize                       : 5000
CacheSizeInGB                               : 15
ClipartEnabled                              : False
OnlinePictureEnabled                        : False
OnlineVideoEnabled                          : False
TranslationEnabled                          : False
MaxTranslationCharacterCount                : 125000
TranslationServiceAppId                     :
TranslationServiceAddress                   :
RenderingLocalCacheLocation                 : C:ProgramDataMicrosoftOfficeWebAppsWorkingwaccache
RecycleActiveProcessCount                   : 5
AllowCEIP                                   : False
OfficeAddinEnabled                          : False
ExcelRequestDurationMax                     : 300
ExcelSessionTimeout                         : 450
ExcelWorkbookSizeMax                        : 10
ExcelPrivateBytesMax                        : -1
ExcelConnectionLifetime                     : 1800
ExcelExternalDataCacheLifetime              : 300
ExcelAllowExternalData                      : True
ExcelUseEffectiveUserName                   : False
ExcelWarnOnDataRefresh                      : True
ExcelUdfsAllowed                            : False
ExcelMemoryCacheThreshold                   : 90
ExcelUnusedObjectAgeMax                     : -1
ExcelCachingUnusedFiles                     : True
ExcelAbortOnRefreshOnOpenFail               : True
ExcelAutomaticVolatileFunctionCacheLifeTime : 300
ExcelConcurrentDataRequestsPerSessionMax    : 5
ExcelDefaultWorkbookCalcMode                : File
ExcelRestExternalDataEnabled                : True
ExcelChartAndImageSizeMax                   : 1
OpenFromUrlEnabled                          : False
OpenFromUncEnabled                          : True
OpenFromUrlThrottlingEnabled                : True
PicturePasteDisabled                        : True
RemovePersonalInformationFromLogs           : False
AllowHttpSecureStoreConnections             : False
Machines                                    : {OFFICE}
部署 Nginx 反向代理
由于是使用 https 提供服务,你需要准备合法的证书,如何获得合法的证书请看我另外一篇博文无80端口情况下使用 CertBot 申请证书并使用nginx更新证书 50
到 Seafile 的 Nginx 新建配置文件
vim /etc/nginx/conf.d/office.conf
server {
    listen       443 ssl http2;
    server_name  office.domain.com;

    ssl_protocols TLSv1.1 TLSv1.2;
    ssl_certificate /etc/letsencrypt/live/office.domain.com/fullchain.pem;
    ssl_certificate_key /etc/letsencrypt/live/office.domain.com/privkey.pem;

    # log files
    access_log  /var/log/nginx/office.access.log;
    error_log   /var/log/nginx/office.error.log;

    location ^~ / {
        proxy_pass  http://192.168.2.42/;
        proxy_set_header host              $http_host;
        client_max_body_size 0;
    }
}
浏览器输入https://office.domain.com/hosting/discovery就会出现如下内容
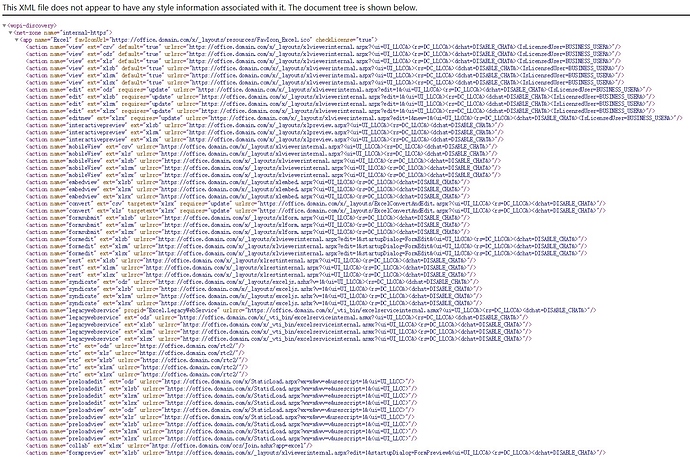
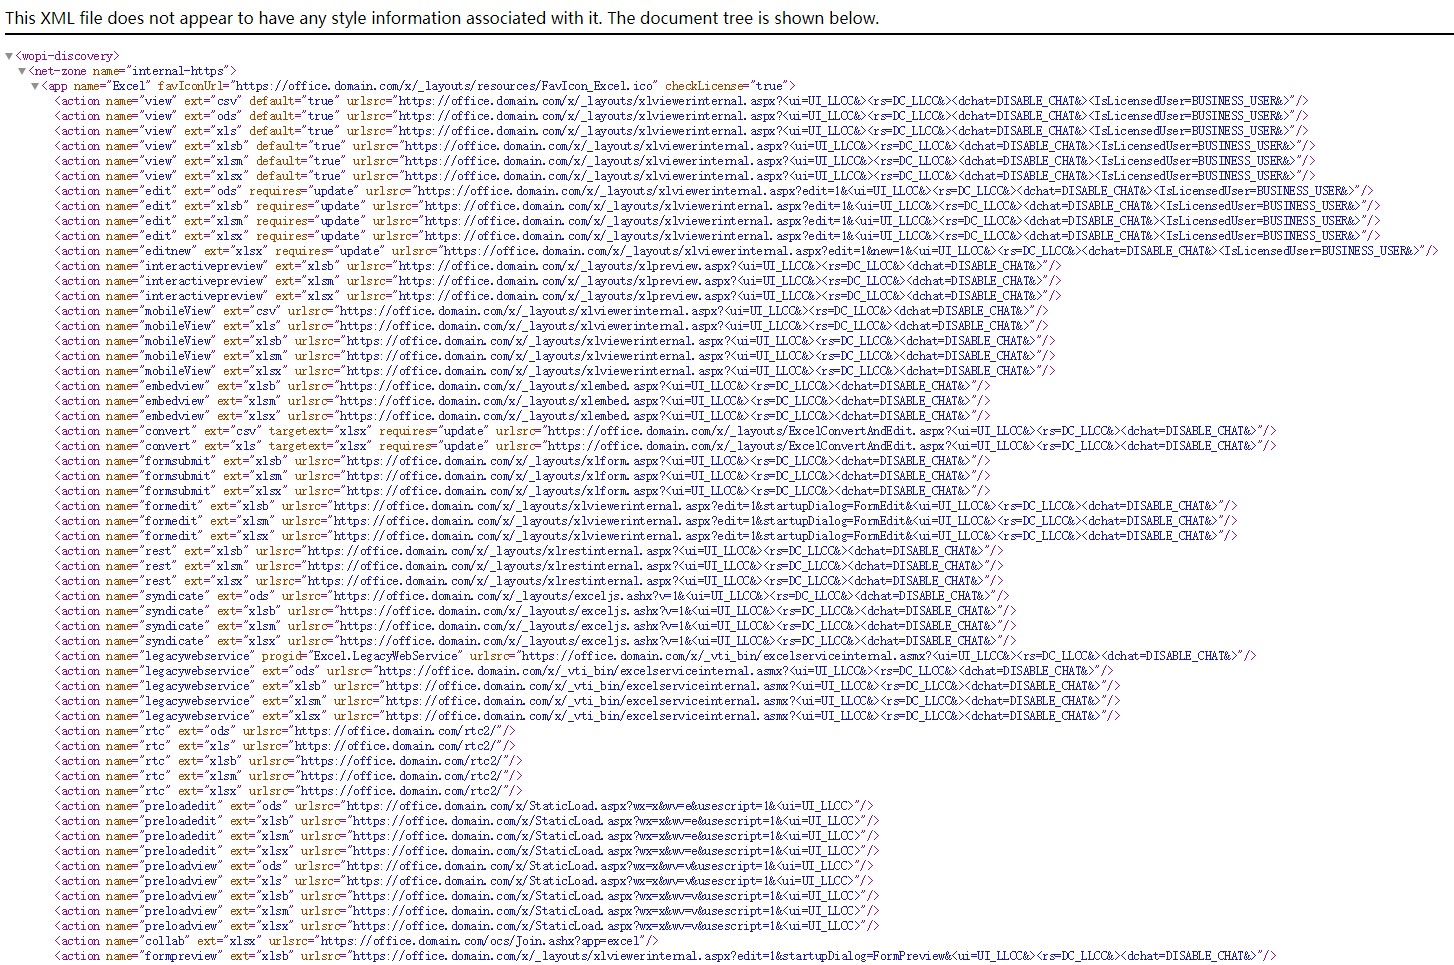
由于我不可能有 domain.com 6 的域名所有权,所以我这里使用的不合法的自签证书演示效果。
修改 Seafile 配置以启用 Office Online Server
参考官方配置手册 Office Online Server Integration 44
编辑 seahub_settings.py 文件在文件最后添加以下内容
# Enable Office Online Server
ENABLE_OFFICE_WEB_APP = True

# Url of Office Online Server's discovery page
# The discovery page tells Seafile how to interact with Office Online Server when view file online
# You should change `http://example.office-web-app.com` to your actual Office Online Server server address
OFFICE_WEB_APP_BASE_URL = 'https://office.domain.com/hosting/discovery'

# Expiration of WOPI access token
# WOPI access token is a string used by Seafile to determine the file's
# identity and permissions when use Office Online Server view it online
# And for security reason, this token should expire after a set time period
WOPI_ACCESS_TOKEN_EXPIRATION = 30 * 60 # seconds

# List of file formats that you want to view through Office Online Server
# You can change this value according to your preferences
# And of course you should make sure your Office Online Server supports to preview
# the files with the specified extensions
OFFICE_WEB_APP_FILE_EXTENSION = ('ods', 'xls', 'xlsb', 'xlsm', 'xlsx','ppsx', 'ppt',
    'pptm', 'pptx', 'doc', 'docm', 'docx')

# Enable edit files through Office Online Server
ENABLE_OFFICE_WEB_APP_EDIT = True

# types of files should be editable through Office Online Server
# Note, Office Online Server 2016 is needed for editing docx
OFFICE_WEB_APP_EDIT_FILE_EXTENSION = ('xlsx', 'pptx', 'docx')
唯一需要修改的地方就是 OFFICE_WEB_APP_BASE_URL 这个值,修改成刚测试使用的'https://office.domain.com/hosting/discovery'
删除 seahub_settings.pyc 文件重启 seahub 以应用配置
rm -f conf/seahub_settings.pyc
./seafile-server-latest/seafile.sh restart
./seafile-server-latest/seahub.sh restart
如果是6.2以下版本记得使用 fastcgi 重启seahub.sh
./seafile-server-latest/seahub.sh restart-fastcgi
至此,已完成所有的 Office Online Server 部署配置了。对比 onlyoffice 来说,微软怎么说都是从 office 起家的,在这个领域内人家是老大。
但老大的也没法解决兼容旧版本的 doc 文件支持,但真的要比 onlyoffice 好用太多太多了。
可能遇到的问题
安装的时候不注意,安装错 Office Online Server 语言包,怎么切换回中文。
- 在 Office Online Server 中以管理员身份运行 Powershell 执行
Remove-OfficeWebAppsMachine命令; - 在程序和功能中卸载错误的语言包;
- 安装正确的语言包;
- 参照部署 Office Online Server 墙章节重新部署即可。
【版权声明】
本站部分内容来源于互联网,本站不拥有所有权,不承担相关法律责任。如果发现本站有侵权的内容,欢迎发送邮件至masing@13sy.com 举报,并提供相关证据,一经查实,本站将立刻删除涉嫌侵权内容。